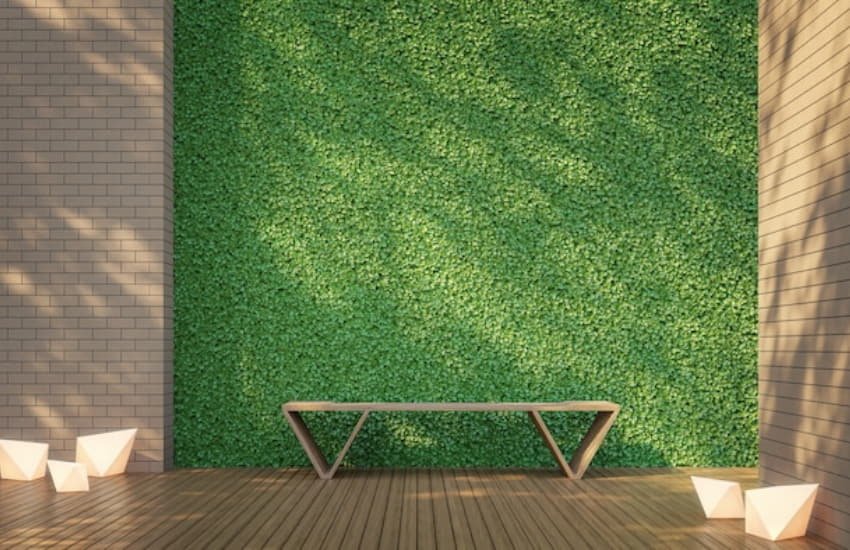
Artificial synthetic grass has become an increasingly popular choice to improve the aesthetics, style, and value of indoor and outdoor spaces. Besides adding a touch of greenery to floors, fake turf has now found its way onto walls. You can fix artificial grass on a wall for a unique, fresh, and vibrant appearance in any environment.
Whether you aim to create an accent wall in your living room or a relaxing space in your workspace, fake turf provides a lush backdrop for any setting. To help you achieve this goal, we have developed a detailed guide on how to fix artificial grass on a wall. We’ve got you completely covered, whether it’s selecting the right materials or executing a flawless installation. Let’s get started!
Artificial Grass For Walls | A Guide For Installation Like A Pro
 Artificial grass for wall decoration benefits you with a fresh appearance, low maintenance, high durability, amazing versatility, and eco-friendly decor.
Be Ready With the Required Tools And Materials
Before installing artificial grass on the wall, ensure you have the following tools and materials handy.
- Artificial Grass With the Right Thickness
- Plywood or Backing Board For Evenness
- Strong Adhesive For Bonding
- Staple Gun for Securing the Edges
- Utility Knife For Trimming Purposes
- Measuring Tape For Accuracy
- Spirit Level For Alignment
- Screws And Nails For Fitting
- Double-Sided Stick Tape
- Power Drill Machine For Walls
- Gloves, Safety Glasses,& Mask
Take Proper Measurements
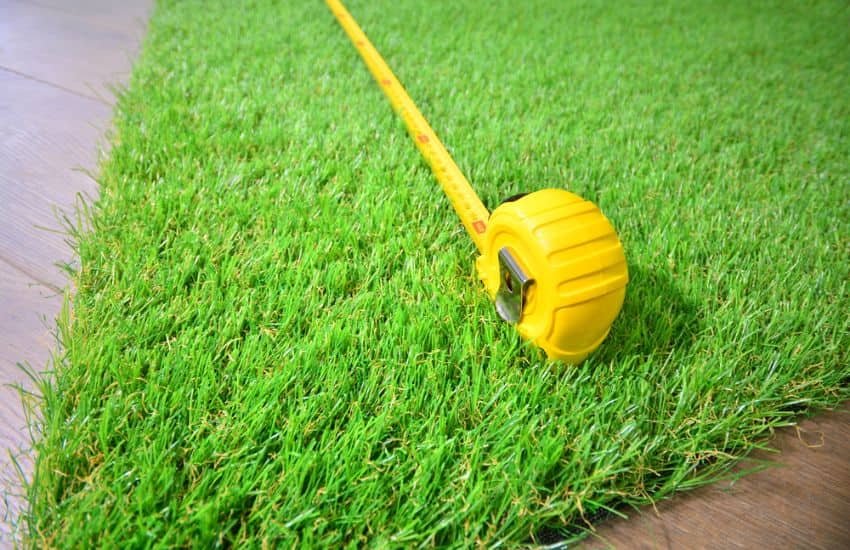 The first working step is taking measurements of the area where you want to install fake turf. Get the right height and width of the wall using a tape measure. Ensure you get the correct measurements to cut the fake turf roll to the right size. Double-check the measurements to avoid mistakes. When taking measurements, consider certain wall features or hurdles like windows or doors. That’s because you’ll need to eliminate those areas from measurements.
Get The Wall Ready
Next up, you have to prepare the wall surface to make it ready for the proper sticking or nailing of fake turf. For synthetic turf, the wall surface must be properly cleaned, dried, and free of debris and dirt. Also, the pro tip is to install a plywood or MDF backing board to create a smooth and even surface without any imperfections. The unevenness of the surface can be examined using a spirit level. If it’s not balanced, use screws and a drill to install the backing board, ensuring it is leveled and secured. For premium-quality materials and expert advice, consider visiting an artificial grass shop in Dubai to ensure you get the best fit for your project.
Measure & Trim Grass
 Now that you have noted wall dimensions for cutting fake grass to size, It’s time to unroll the grass carpet on a flat surface. Next, mark the areas that require cutting using the precise measurement details. The best tool for trimming is a utility knife, which allows you to make precise cuts. Always begin with small cuts from the back side with mesh backing and go with steady cutting to avoid rough or uneven edges. Additionally, to attach multiple pieces, align grass blades in the same direction for a flawless appearance.
Select Tools & Apply Adhesive
The right tools and materials must be selected to fix artificial grass on a wall. For sticking purposes, you have three flexible options, including screws, nails, and double side adhesive tape. As the wall is prepared, the tool is selected, and the grass is cut to size, you can begin with an adhesive application. Choose a high-strength adhesive considering the wall type (brick, plaster, concrete, etc.). Now, generously spread the adhesive to the wall while working in sections to avoid drying, ensuring uniform coverage using a level or spreader.
Press Grass Against the Wall
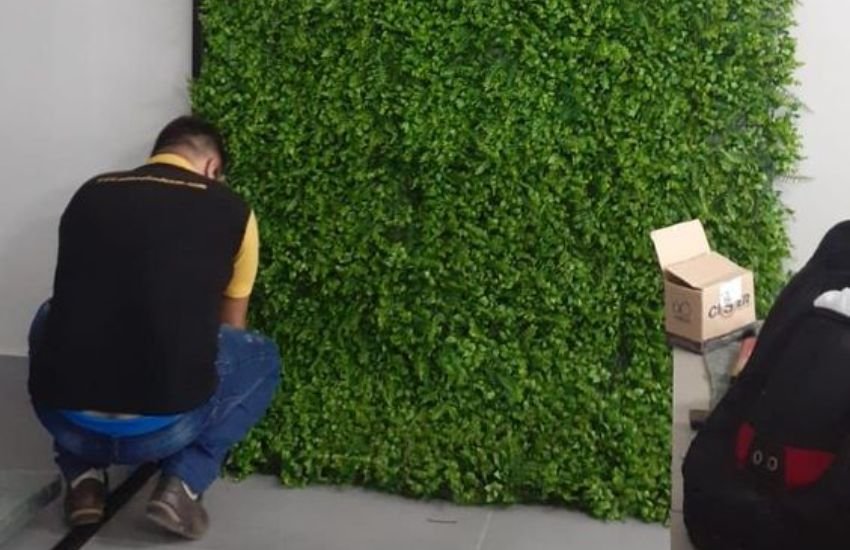 Here comes the main step to fixing, attaching, or sticking fake turf to the wall. For this purpose, you need to position the grass first. Take the start from one corner of the wall and carefully press the cut-to-size roll onto the adhesive on the surface. Ensure it aligns with your measurements at the fitting time, and use your hands to smooth the surface for any air bubbles or wrinkle removal. Work from top to bottom and one side to the other and across to get rid of any creases.
Secure Grass in Place
You can use a staple gun that works like magic for proper sticking and extra security for installing grass on walls. Using this gun, staple the corners and edges. This step is particularly required if you’ve installed a backing board so as to keep the grass from peeling away. To ensure the perfect securing of the fake turf roll on the wall, you can also use nails across all sides and corners. It will provide the benefit of long-lasting attachment, making it impossible for any wear and tear.
Remove The Excess
 Once you are done fixing fake grass on the wall, the inspection process of removing the edge begins. To tidy up the edges, check for any excess material, whether roll or adhesive. Extensive corners or overhangs can be trimmed away using a sharp utility knife. Ensure the synthetic turf roll sits perfectly against the wall, and the edges are neat. Lastly, you need to make the final adjustments after the inspection. Look for loose and bumpy sections to eliminate imperfections, and adjust accordingly to adhere the grass perfectly on a vertical surface.
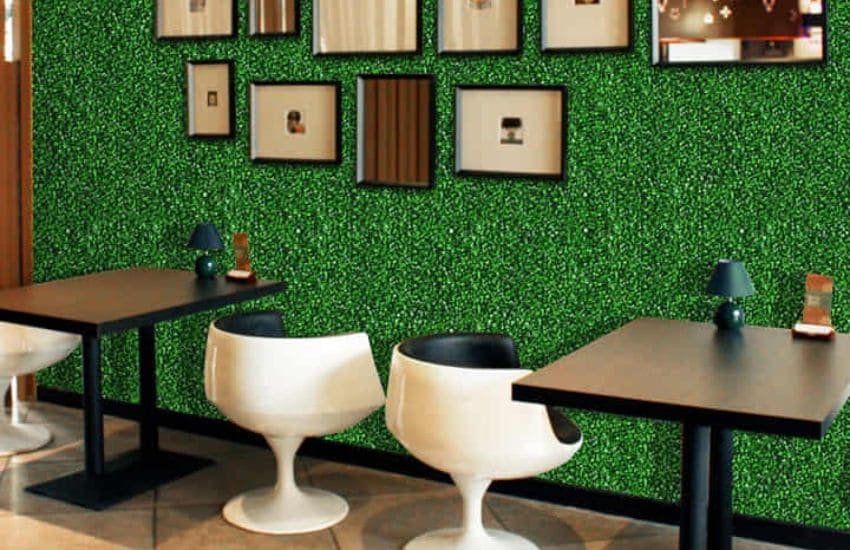
It’s A Wrap!
Fitting synthetic grass on walls is an interesting and straightforward job that can significantly boost the aesthetics and functionality of your space. Whether you aim to create a nature-inspired theme or a standout feature in your balcony, backyard, or patio, we provide you with a step-by-step guide to getting them fixed on every wall.
Following this guide’s simple yet precise steps can help you achieve a professional-looking installation. All you have to do is get all the right tools and materials handy for the careful execution of the whole process. Our comprehensive guide will provide long-lasting treatment for fixing artificial grass, serving a naturally pleasant and soothing appearance in every indoor and outdoor setting. For the best results and quality products, explore our artificial grass shop in Dubai to find everything you need in one place.